By now, you have survived and thrived through the first weeks and months of your baby’s life and already learned a bunch about your little one. You have established a routine and gotten used to the hectic lifestyle of a new parent. But guess what? The fun never ends! Now it’s time to learn how to transition baby from bassinet to crib.
Adapting and changing is your new routine. There is always a new phase to conquer and a ton more to learn.
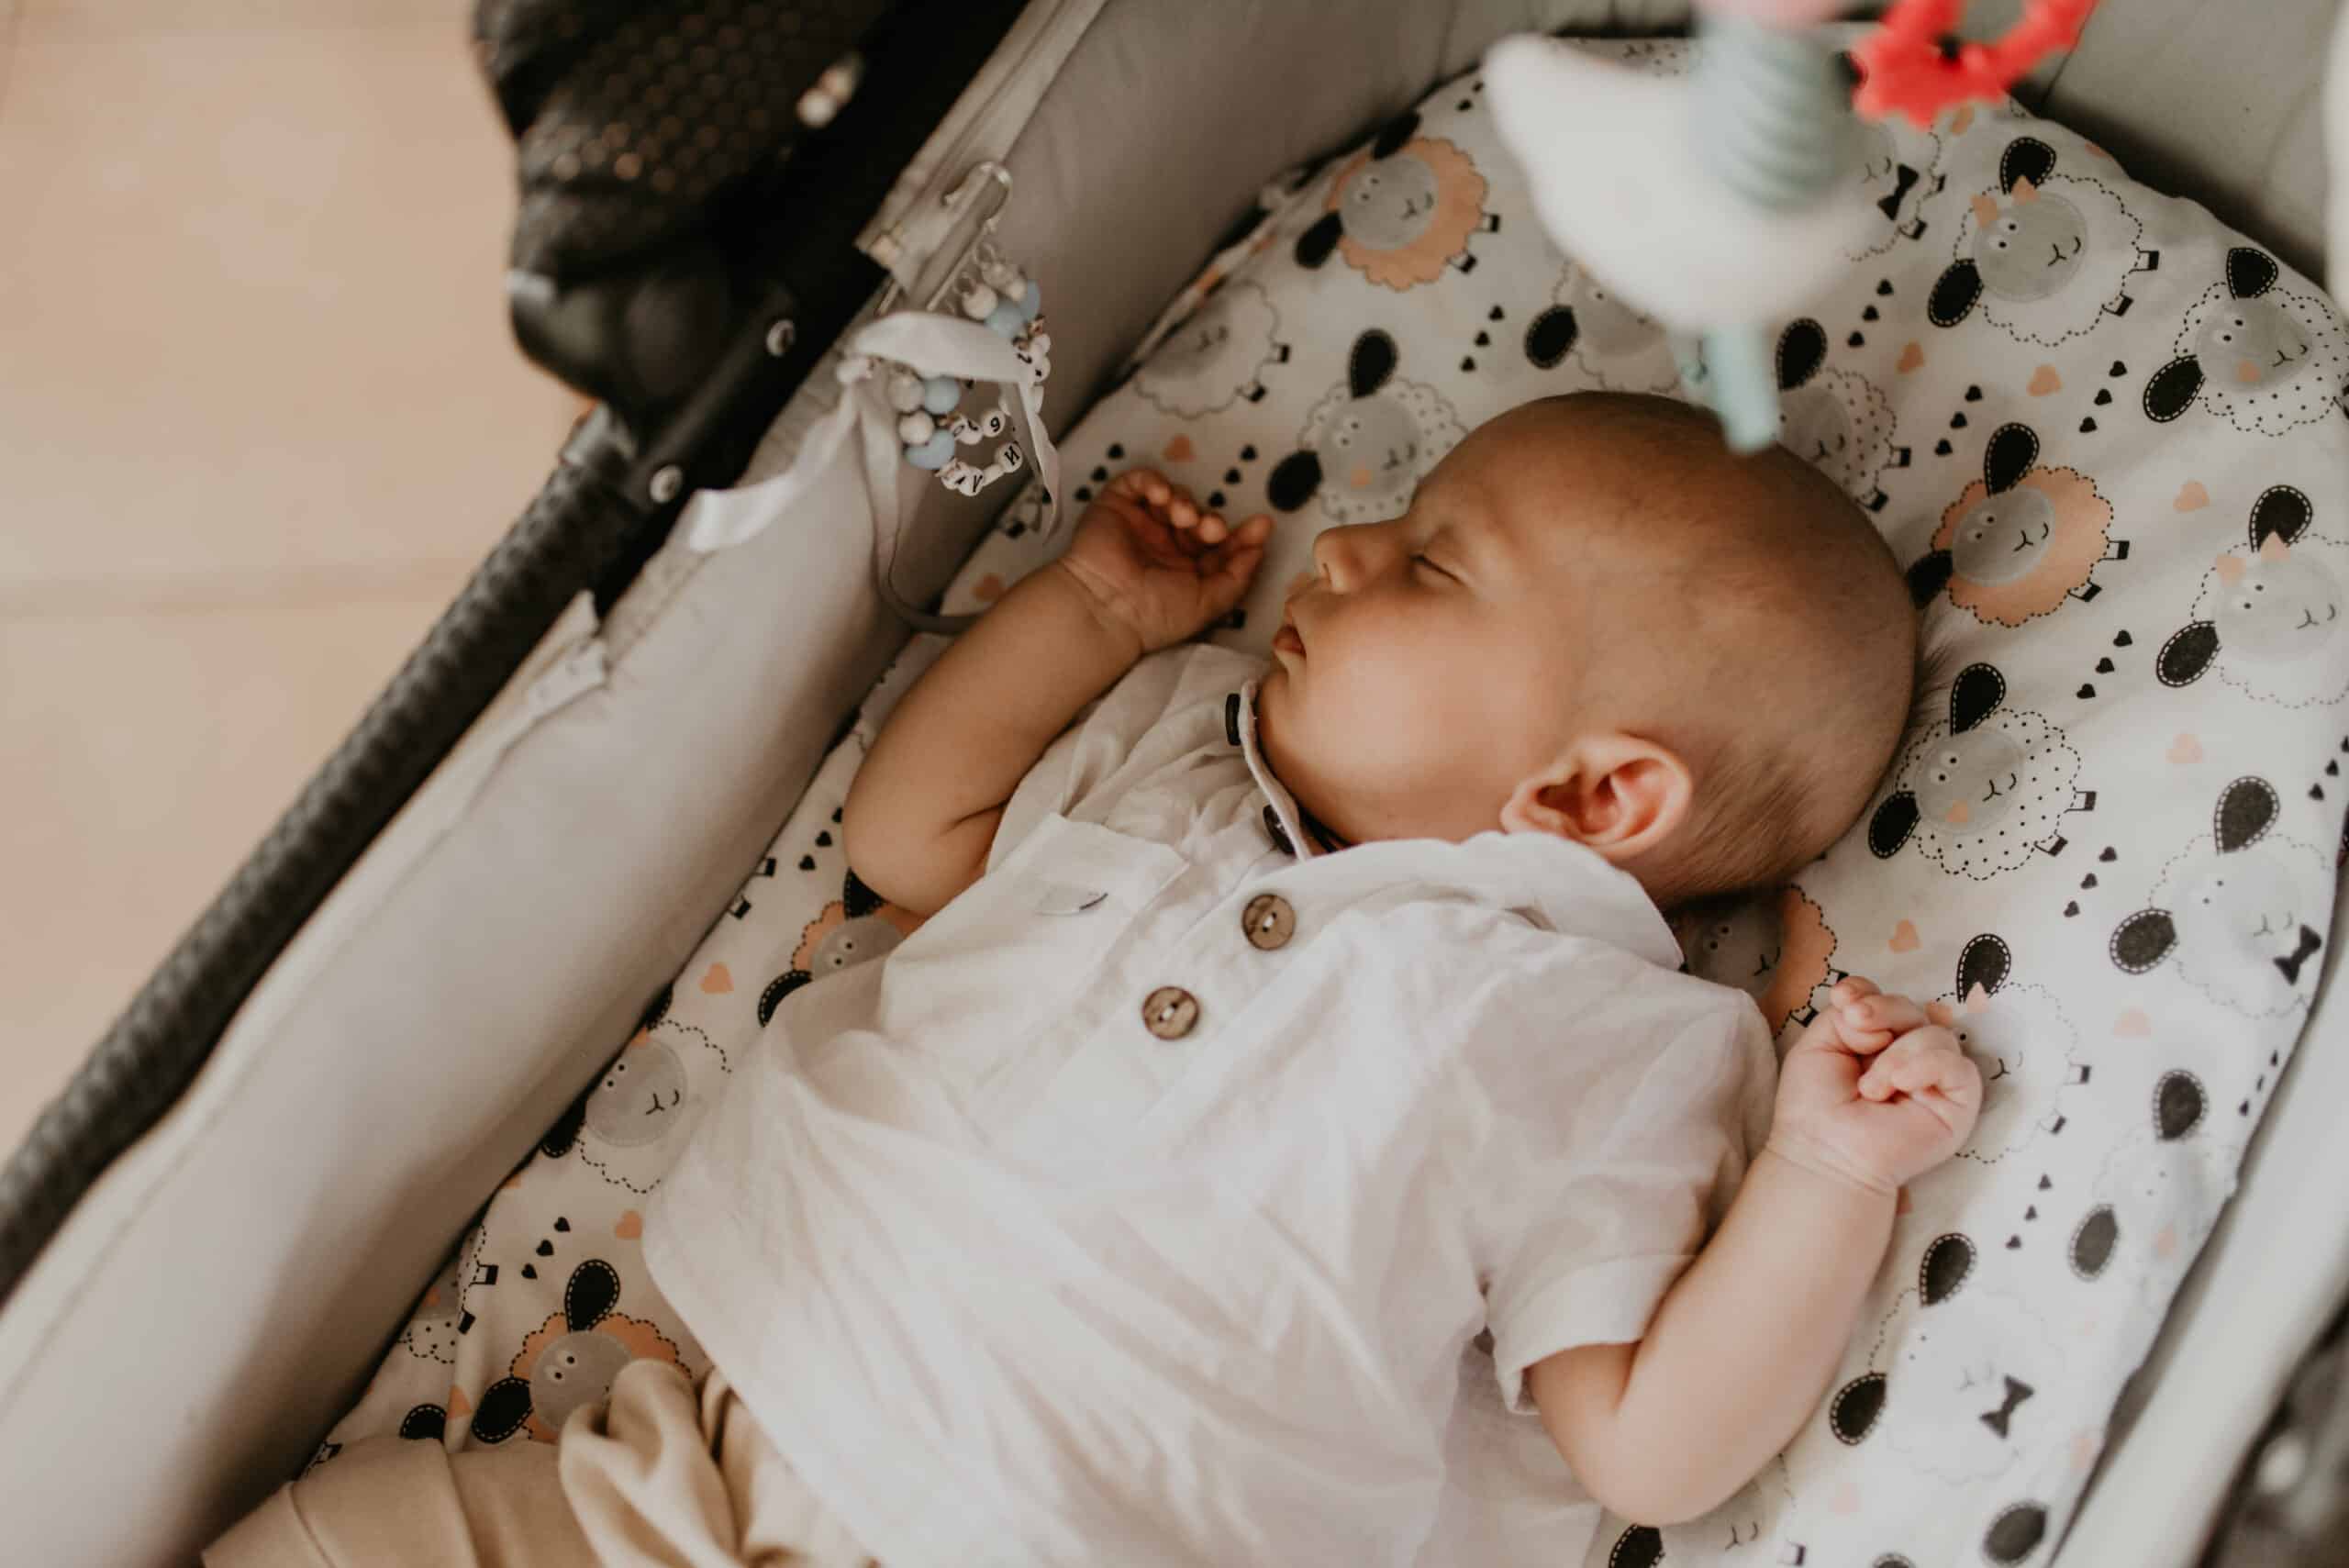
So, you look at your son and realize that it suddenly looks like he is getting to big for his bassinet. Time to graduate to the big leagues; TheCrib… but how?
Even though many parents claim that their babies hate the bassinet, the majority of babies grow to love their cozy little bed. It’s small, semi-covered, dark, warm and it reminds them of the womb. So how do you know when it’s time transition them to the crib and how the heck do you do it without disturbing their (and your) precious sleep too much?
How long can you use a bassinet for?
Like most things for babies, bassinets have a fairly short shelf life. Most bassinets are rated for 20 to 25 lbs and babies usually outgrown them somewhere between 3 and 6 months of age.
There are also other limitations such as, if your baby can roll over on their own or they are too long, it’s time move them out of the bassinet and into a larger space so they can safely roll over and move around without restrictions.
If you want more information on knowing how long you can use your bassinet for, check out our detailed article on How long can you use a bassinet.
Knowing when it’s time to start the transition
The transition from bassinet to crib can happen very suddenly or you can try planning it as you see your baby outgrowing his bed.
If you start noticing some of these tell-tale signs, it may be time to start thinking about a transition:
- Waking up more often in the night at abnormal times
- Finding baby stuck in an uncomfortable position over and over
- Noticing they get fussier than usual when they wake up in the bassinet
- Realise your baby has no space left between his feet or head and the bassinet walls
Observing how he behaves in the bassinet is more than half of the battle so keep your eyes peeled for any clues indicating that the bassinet time is running out. Here are some other signs to look out for.
Bassinet weight limits
Please read your bassinet instructions manual carefully and verify all of the limitations to your specific model.
Most modern bassinets are rated for babies up to 20 lbs or 25 lbs. Some can even go up to 35 lbs but these models resemble a mini crib more than a bassinet.
If your baby is approaching or has surpassed the bassinet maximum allowable weight it’s time to transition to a crib, stat. Bassinets are designed for safety and comfort up to the indicated weight limit so do not keep your baby in a bassinet that is not rated for his weight.
If you would like to see some examples of the weight limits for some of the most popular bassinets in the market today, take a look at our detailed article on When is baby too big for a bassinet.
Does he still have some free space?
When you place your baby in his bassinet, can you see a gap between his head/feet and the bassinet walls? Does he look squished in there?
Some manufacturers suggest that babies should have 2” clearance at the top and bottom to allow for some movement so that they don’t get stuck in an undesirable position.
We suggest that you watch once you put your baby down for daytime nap or sleep in the bassinet and pay attention to where they are when they wake up. If you start noticing that they are kicking or hitting the bassinet during the night, they are probably getting too big for it and need to be transitioned to a crib.
Is he able to turn on his own?
This is a restriction we have found on every bassinet model we have reviewed. If your baby is able to roll over (from front to back or back to front) on their own, it’s time to move them out of the bassinet.
Pay attention during play time and notice if they can do a full turn on their own. If so, this is a clear sign they have outgrown the bassinet.
The reason for this limitation is that most bassinets are small and made for babies to sleep on their back and not to turn from back to stomach. Even though modern bassinets have breathable sidewalls in case your baby does turn and get stuck, you should still remember that they are not made for moving babies.
How to transition baby from bassinet to crib
So now you have identified that it is time to start transitioning from the bassinet to the crib and you’re ready to get started. The goal of any transition is to make sure that you don’t shock the baby and cause a disturbance to what they are used to.
With this mindset, remember that every baby is different and will require different types of transition. Some babies can be taken out of the bassinet one night and into the crib the next night and nothing will change.
Most babies however, are very sensitive to change. So, try to make the transition as slow and smooth as possible. Change one thing at a time so that you can more easily identify what could be the sticking point for your baby. If you change too many things at once, you may not be able to notice what it is that your baby doesn’t like.
Side note: Swaddling
If you have been swaddling your baby since birth, there is a good chance that the bassinet nights and the swaddling are ending around the same time. Babies usually outgrow the full-swaddle somewhere between 3-5 months which can also coincide with the bassinet to crib transition.
If your baby is still in a full swaddle, we don’t suggest unsaddling him during the bassinet to crib transition. This will add another variable to the equation and potentially something else to irritate your baby during the night.
Get through the bassinet to crib transition first, then work on the swaddle transition.
Step 1 – Decide if it’s time to move baby to the nursery or bring the crib to your room
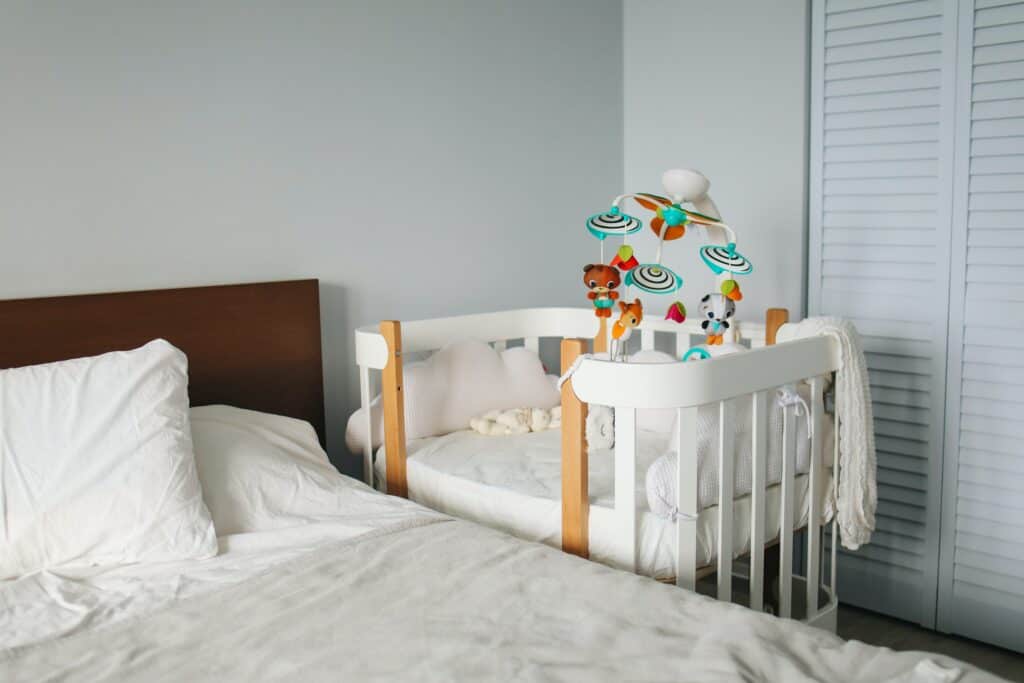
At this stage, not only do you need to gradually move your baby to the crib, but you also need to decide where the crib will be placed. I know that you already have a crib in your nursery that has been sitting empty for a little while and you’re dying to use it, but there is a very good reason to think twice before moving baby to the nursery.
When you bought the crib and set up the nursery (many months ago), you may not have thought of the fact that baby would be sleeping in the same room as you for this long.
The American Academy of Pediatrics (AAP) and the Center for Disease Control (CDC) both suggests that newborn babies sleep in the same room as their parents for at least 6 months and even up to 12 months. Room sharing with your newborn or infant baby has shown to decrease the risk of SIDS by 50%.
So, you have 2 options:
- Transition baby to the crib in the nursery
- Transition baby to a crib in your room
If you decide to go with option 2 and have a crib your room (assuming that you have the necessary space), you may choose to either move the crib from his nursery temporarily to your room and get a secondary crib. There are also portable crib options you may want to consider.
Step 2 – Get baby familiar with the crib and nursery
I remember when my wife was about 4 months pregnant and we started setting up the nursery. We painted it, bought the furniture and moved it in, printed and hung beautiful pictures of baby animals, bought a nursing glider chair (which we still haven’t used by the way) and we just dreamed of having our baby in there.
Then almost a full year went by and we still hadn’t spent much time at all in the nursery except for the occasional diaper change.
When the time came to transition to the nursery, we realized that our almost 6-month-old was actually not really familiar with the nursery. He actually didn’t like being in there very much and would scream his head off at times when we tried to hang out in there.
We needed to get him used to the room before trying to put him to sleep in the crib.
Naps in the crib
Taking naps in the nursery is a great way to get baby used to his new sleeping quarters. If your baby hates it at the beginning like ours did, don’t get discouraged.
What we did was that we started having to rock him to sleep before putting him down for a nap. Waking up alone in the nursery helped him get used to the new space. Little by little we also put him down more and more awake before he fell asleep for the nap.
This trick will not only help with getting used to sleeping in the crib but it will also lay the foundations for great sleep which starts with him learning to fall asleep on his own.
Play time in the nursery
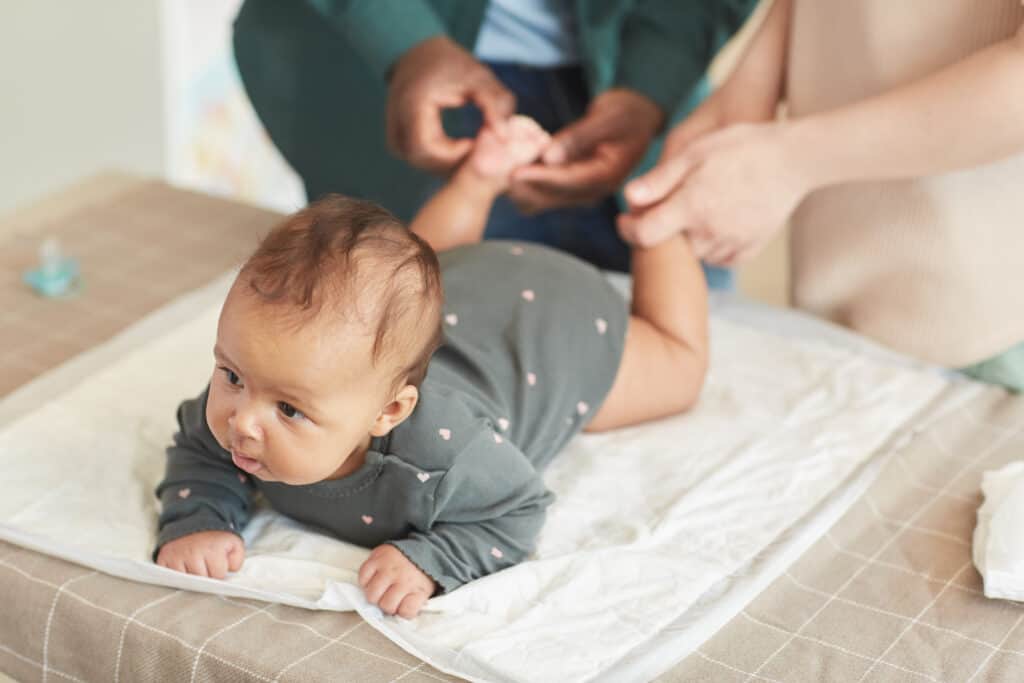
Spend some quality playtime in the nursery with your little one. Play on the floor, do some diaper changes, read books, do your bed time routine in the nursery, etc. Make any excuse you can find to go in the nursery with your baby and get as much time as you can in there.
Doing this a few times per day for a couple of days will help get him acquainted with the room and will make the transition much easier on everyone.
Step 3 – Check that the nursery is ready for baby to sleep in
One sentence I kept repeating to myself during the first several months of living with a baby was “I wish I knew this 6 months ago”. If I knew then what I know now my choices would have been very different. Too many unused accessories, missing items from the baby registry and non-baby-friendly things bought…
Knowing what you should actually have in your nursery comes with experience and you soon realize that many of the items you bought with the best of intentions will either never get used or are just not safe or baby friendly. So, before you move your baby to his new room, make sure the nursery is properly set up for him.
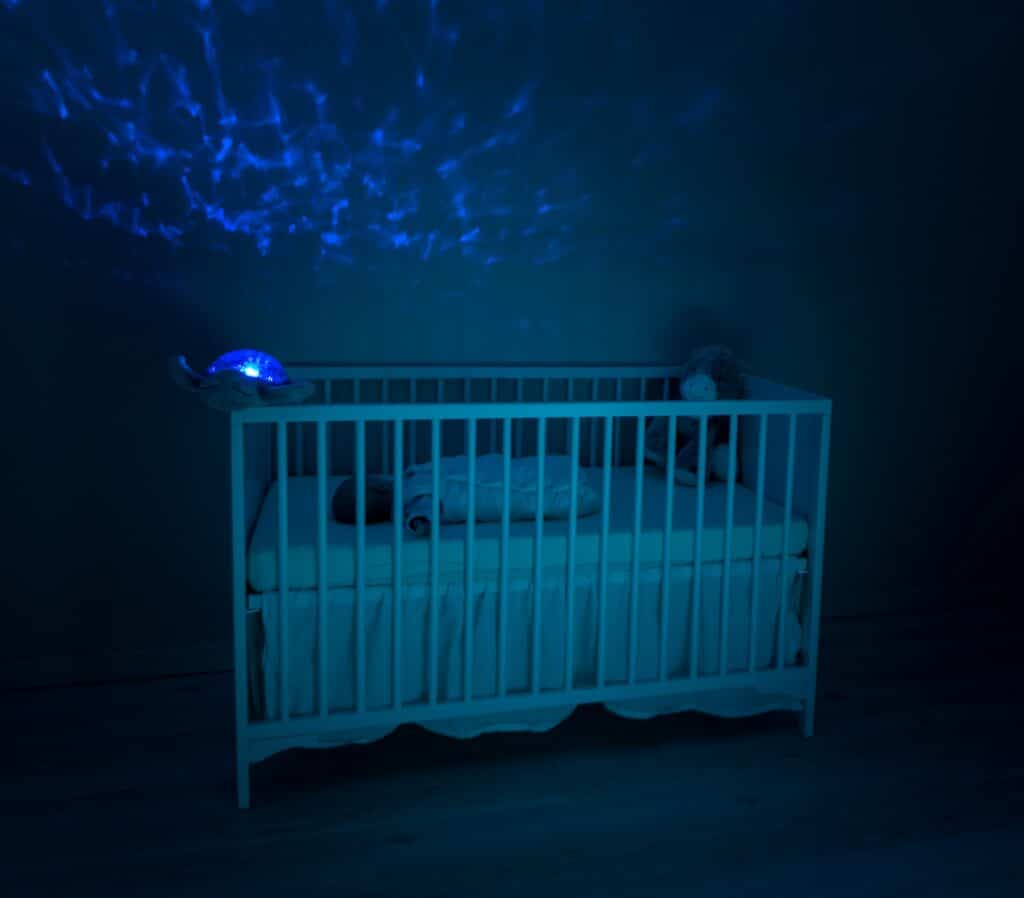
Is it dark enough?
One of my biggest surprises about baby products is how many of them have bright lights. Yes, everything has an LED light these days. Add 4 or 5 of these things in the same room and all of a sudden the lights never really go off.
For optimal sleeping conditions, your baby should sleep in a dark room. Dark means that you shouldn’t be able to see your hand when you stretch your arm in front of your face. So, really dark.
Find all the unwanted lights you can’t turn off and cover them either with tape or LED dimmer stickers. Here are some common places where you will find those pesky LED lights to cover:
- Smart camera
- Baby monitor
- Light switch/dimmer
- Plugs or sockets
- Smoke detectors
- Sound machine
- Fan
- Air conditioner or humidifier
Is the temperature ok?
Do you know how the temperature changes in the nursery throughout the day? Does the sun hit it in the afternoon sending the thermostat into a frenzy? If you don’t know, find out before putting your baby to sleep.
If the nursery is not temperature controlled with central air, make sure the heater or air conditioner actually keeps the temperature you set it to. Get a cheap thermometer and monitor it for a few days and as the seasons change check it again.
The last thing you want is your baby waking up because he is too hot or too cold
Is it quiet enough or too quiet?
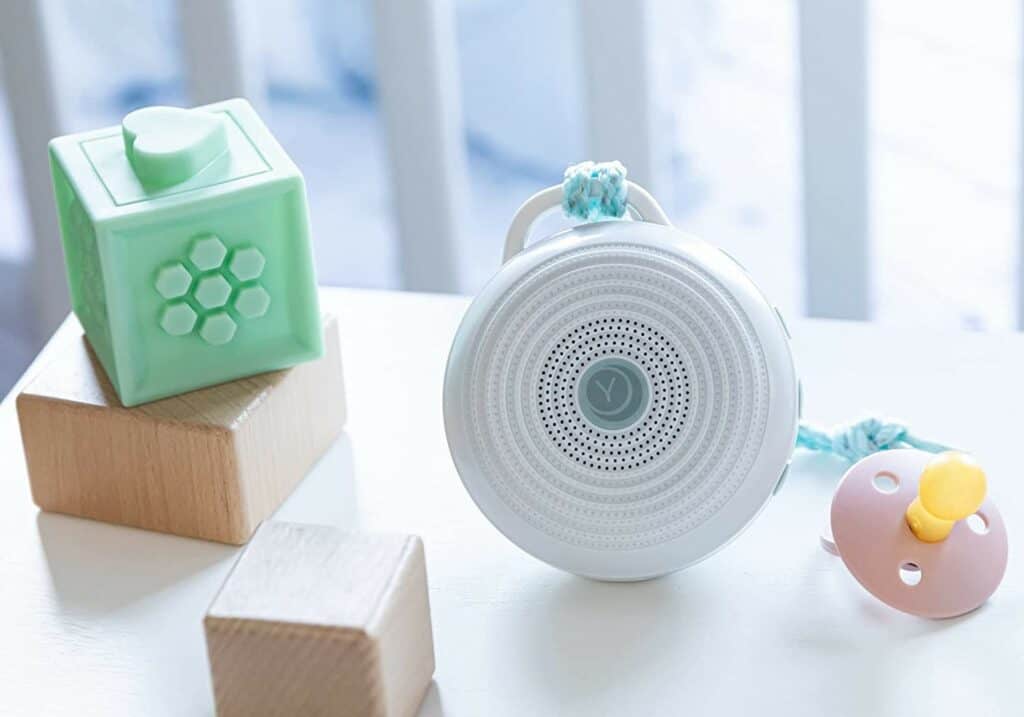
Make sure the room is not in an area where it will get too much noise from the neighbours or the screaming teenagers outside if the window is open.
The other extreme is if the room is actually too quiet. Throw a fan in there or even a sound machine to help drown out external sounds or break the silence. Babies love white noise!
How is the air quality?
We already talked about temperature, but what about humidity and stale air?
If you live in cold climate, the air can get really dry in the winter. Make sure to get a cool mist humidifier in the nursery to keep his nose and mouth from drying up in the night.
On the other hand, if it’s hot and humid outside ensure there is an A/C in the room but not directly on baby, or at the very least a dehumidifier to lighten up the air a bit.
Finally, get a fan! Moving air can bring comfort to your baby and keep him happy.
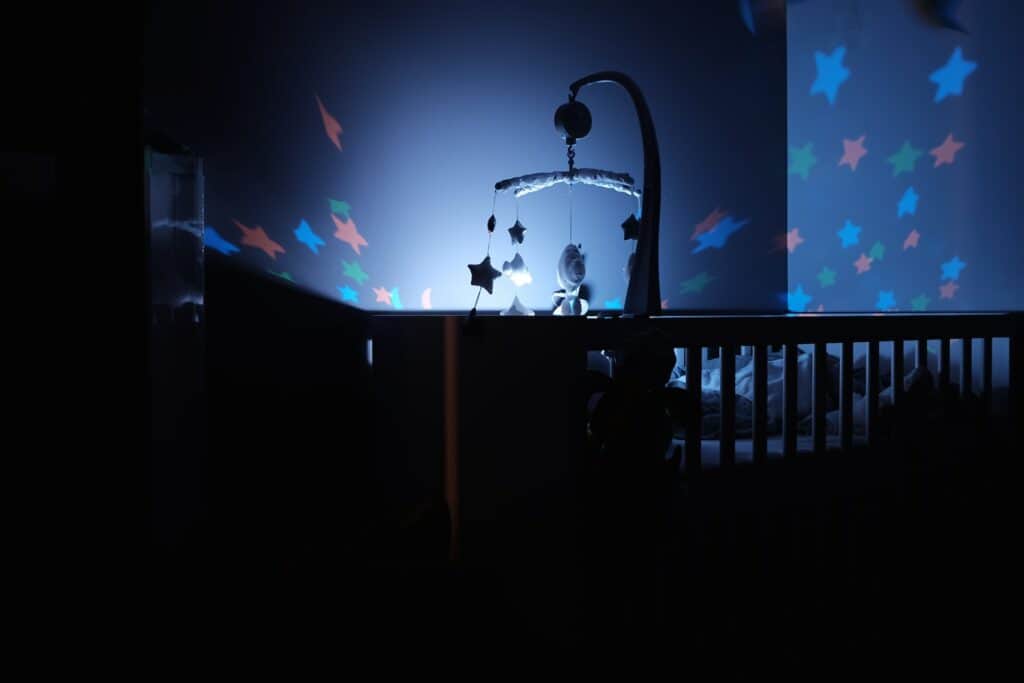
Is the crib clear of ALL accessories?
I’ve seen some beautifully decorated cribs that could be extremely dangerous to put a baby down to sleep in. Crib accessories can make it look really fun and add some style to your nursery but they are strictly forbidden for any kind of sleep.
Before setting your baby down for a nap or sleep, remove all:
- Mobiles
- Bumpers
- Pillows
- Blankets
- Wires
- Monitors
Actually, just make sure the only things in the crib are:
- A newborn safe mattress adequate for your baby’s age
- Tight fitting sheets
- Your baby
That’s it! Nothing hanging over the crib, no quilts draped over the side, no cameras with wires attached to the crib… you get the point. Crib + Baby = Safe sleep
Step 4 – Do a trial sleep night
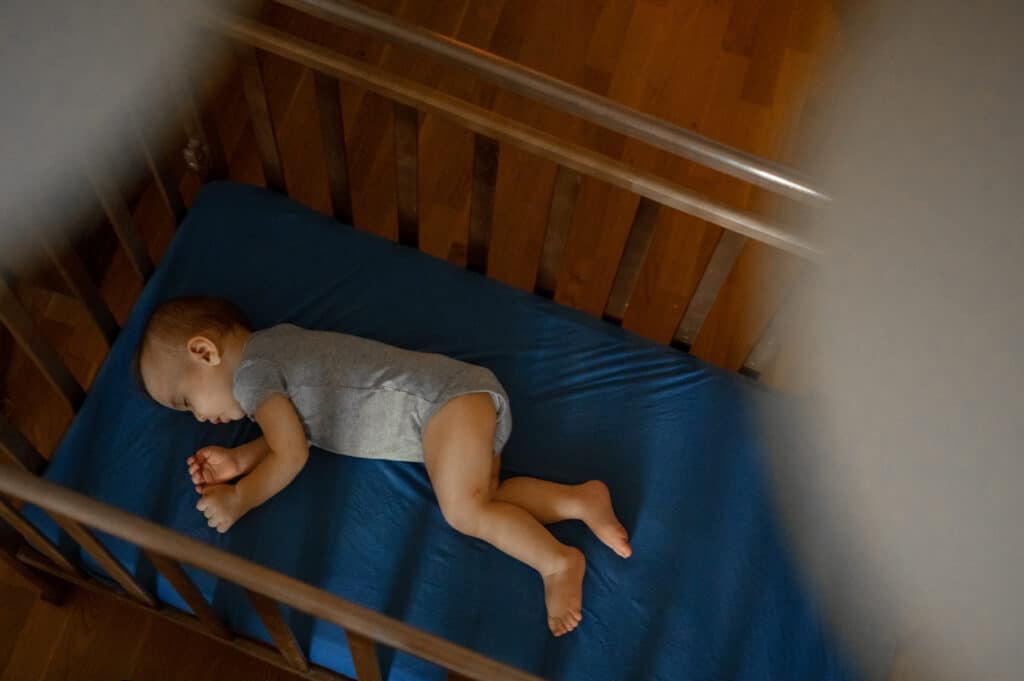
Now that you’ve made the nursery safe and comfy, it’s time to give it a go.
Some parents choose to transition slowly and bring the bassinet into the nursery for a few nights. That’s a great option for a slow smooth transition.
If you don’t have this option you can go straight from bassinet to crib. The trick is to use the first night or two as a trial. If it seems baby is not yet adapting, there is nothing to worry about. Try again tomorrow.
Give yourself (and your baby) a few nights to get used to the change. If the conditions are right, they will eventually get used to it.
In many cases, babies actually sleep better in the crib and away from the parents. So it’s time to embrace all the changes because there are many, many more to come.
Check out our full buyer’s guide on the best bedside bassinets here.

Paul is a passionate dad who founded Upside Dad to share his parenting journey with other new parents. He graduated from Concordia University and worked as a test engineer for over a decade. Paul loves dad jokes and craft beer.
Learn more about Paul and Upside Dad here.